|
| The Front of Jovan's Cross |
 |
| The reverse side |
Step 1 - Research and sketching. I spent a lot of time looking at images of historic Russian crosses. I decided early on that I would do a pictorial version with no lettering, except for Jovan's name on the reverse. Here's my final sketch:

Step 2 - Bending all the little wires. This was a challenge. I started with the thicker wires outlining the figure of Christ, and filled in from there...

Step 3 - Fabricating the Back. On the front side, I focused on a classical figure, but on the reverse, I went a little crazy and free form. It's a cut-out design in 22 gauge sterling, on the top is the holy spirit, which I interpreted as a phoenix swooping down. Jovan told me that sheaves of wheat are very important as symbols of bounty and goodness. The fish at the bottom are personal as well, since beyond the obvious interpretation, Jovan has a delightful coy pond in his back yard.
I particularly like the image with all the holes drilled in the metal. There's no going back at that point! For each tiny hole, I had to thread my saw blade through the opening, make a tiny cut, then repeat the process for every single hole you see. I remember sawing for a very long time.

Step 4 - Fusing the Base. This was a serious pain in the butt. It's a large piece of silver, and I probably used a whole tank of gas trying to fuse the top and bottom together. As a side note, I would fabricate it out of sterling next time, but that's a whole different story.
 |
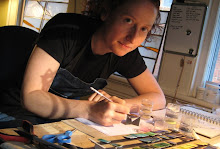
| Don't try this at home... |

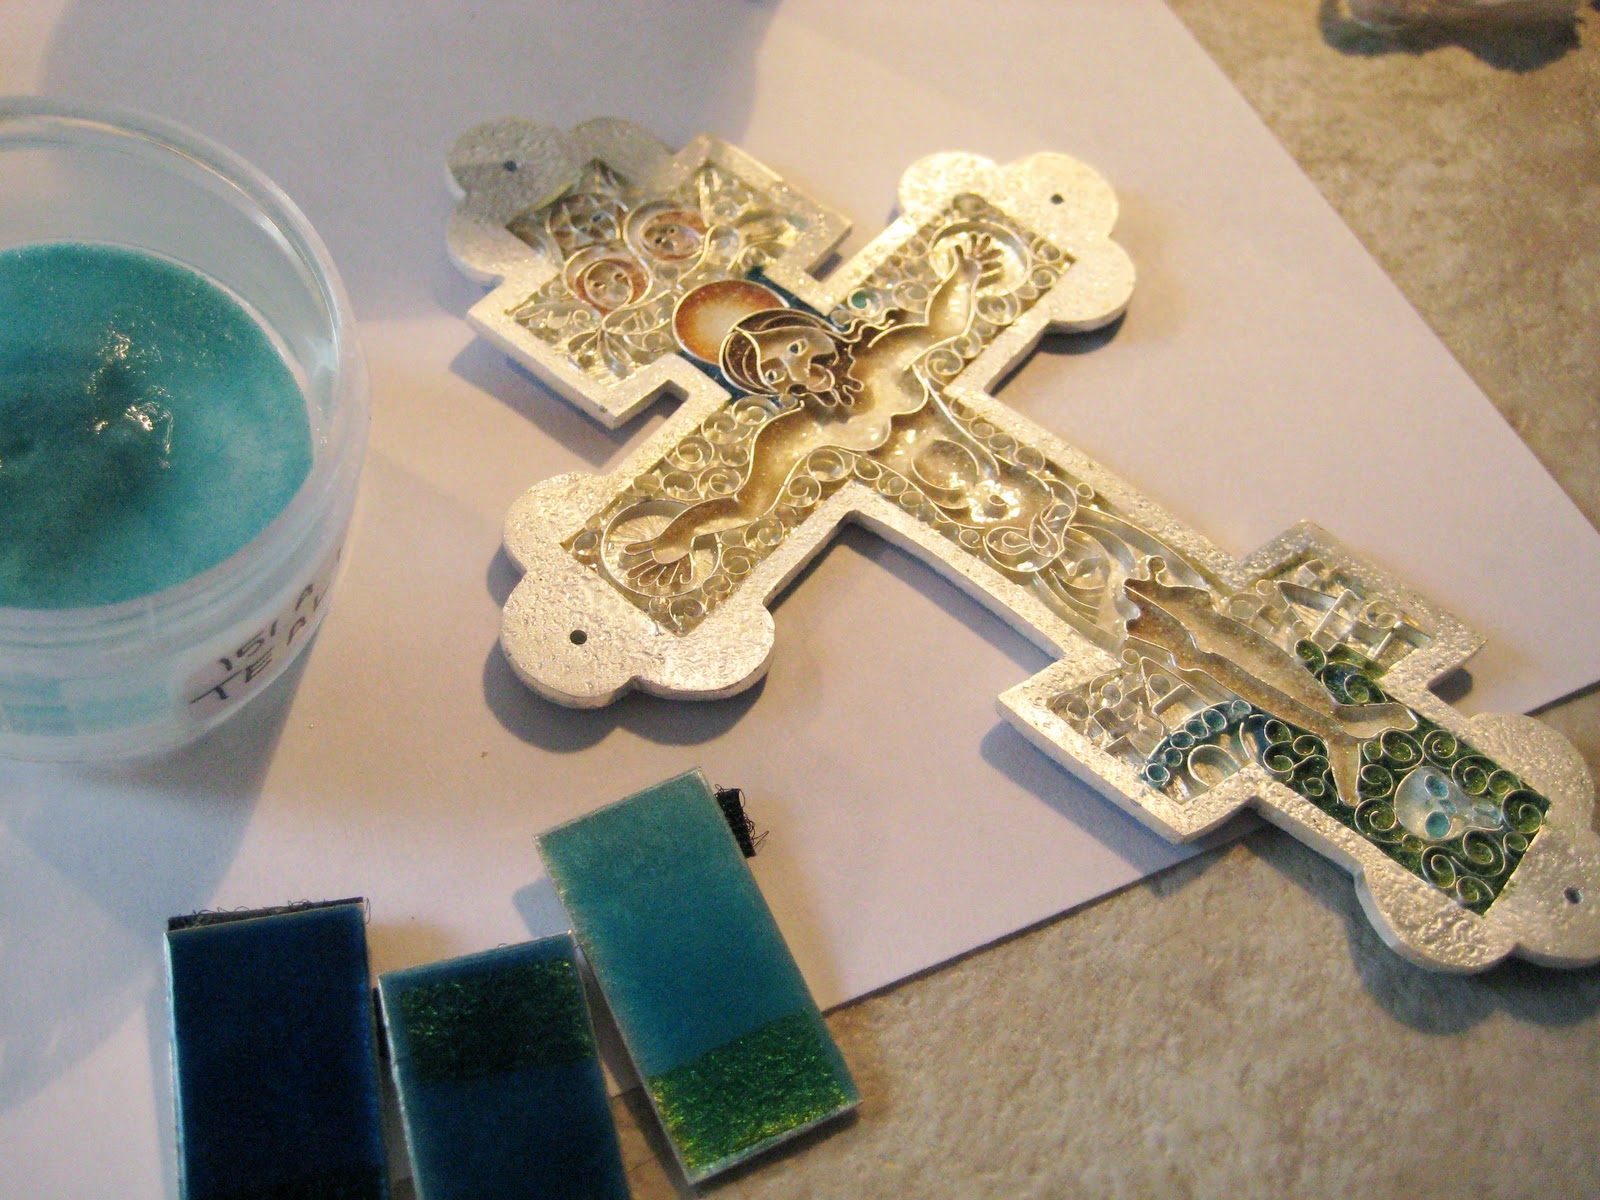
Step 6 - Colors! The best part, finally.